Showing posts with label Paper Piecing. Show all posts

Sunday, 6 October 2013

Busy Bee!

Busy at work, busy at home ... so busy that the deadline for this round of the Strip Bee Quilt jumped out at me and I had a bit of a panic when I read everyone's emails on Friday night saying they were ready to post ... how did that happen?!

Just a reminder, there's six of us involved - from all over the UK - who have never met (hoping that might change one day), each adding a 40.5" strip to each others' quilts as they get passed from one quilter to the other. This was my strip  - which I passed on to Amy @ Cloud CouCou Crafts:


Round 2 - I received Fran's @ Patchy Rose strip - stars from a star:


And tonight, I finished adding my strip (Round 3) to Maria's quilt @ sew love to sew which had been to Fran before coming to me. Aren't Maria's houses the greatest? 


So, next week, I think I'll be receiving either Julie's @ Mack and Mabel or Sarah's @ Quilt Candy quilt and will have 6 weeks to add my strip ... it's such fun! I can only say that now I've finished - this time yesterday, I wasn't so calm but I only have myself to blame. 

We're not supposed to put pressure on ourselves but when I received Maria's strip from Fran, what she had added was so amazing, I just felt I had to 'step-up' and decided I wanted to paper piece either bird or butterfly blocks. Yes, I know - silly woman!

It's not like I've paper pieced that much before - a couple of square in squares cushions and Pants a Bags so ... SERIOUSLY ... what was I thinking?? I bought this pattern off Craftsy (very reasonable) by Linleys Designs:


and it worked very well but the first block was wayyyyyy too big for the quilt and some of the pieces were so small, I didn't see how I could reduce it in size - that was yesterday morning! So, back to ye old faithful Google Images and I found a couple but they weren't quite what I was looking for. You know what they say about necessity being the mother of invention? I made my own! 

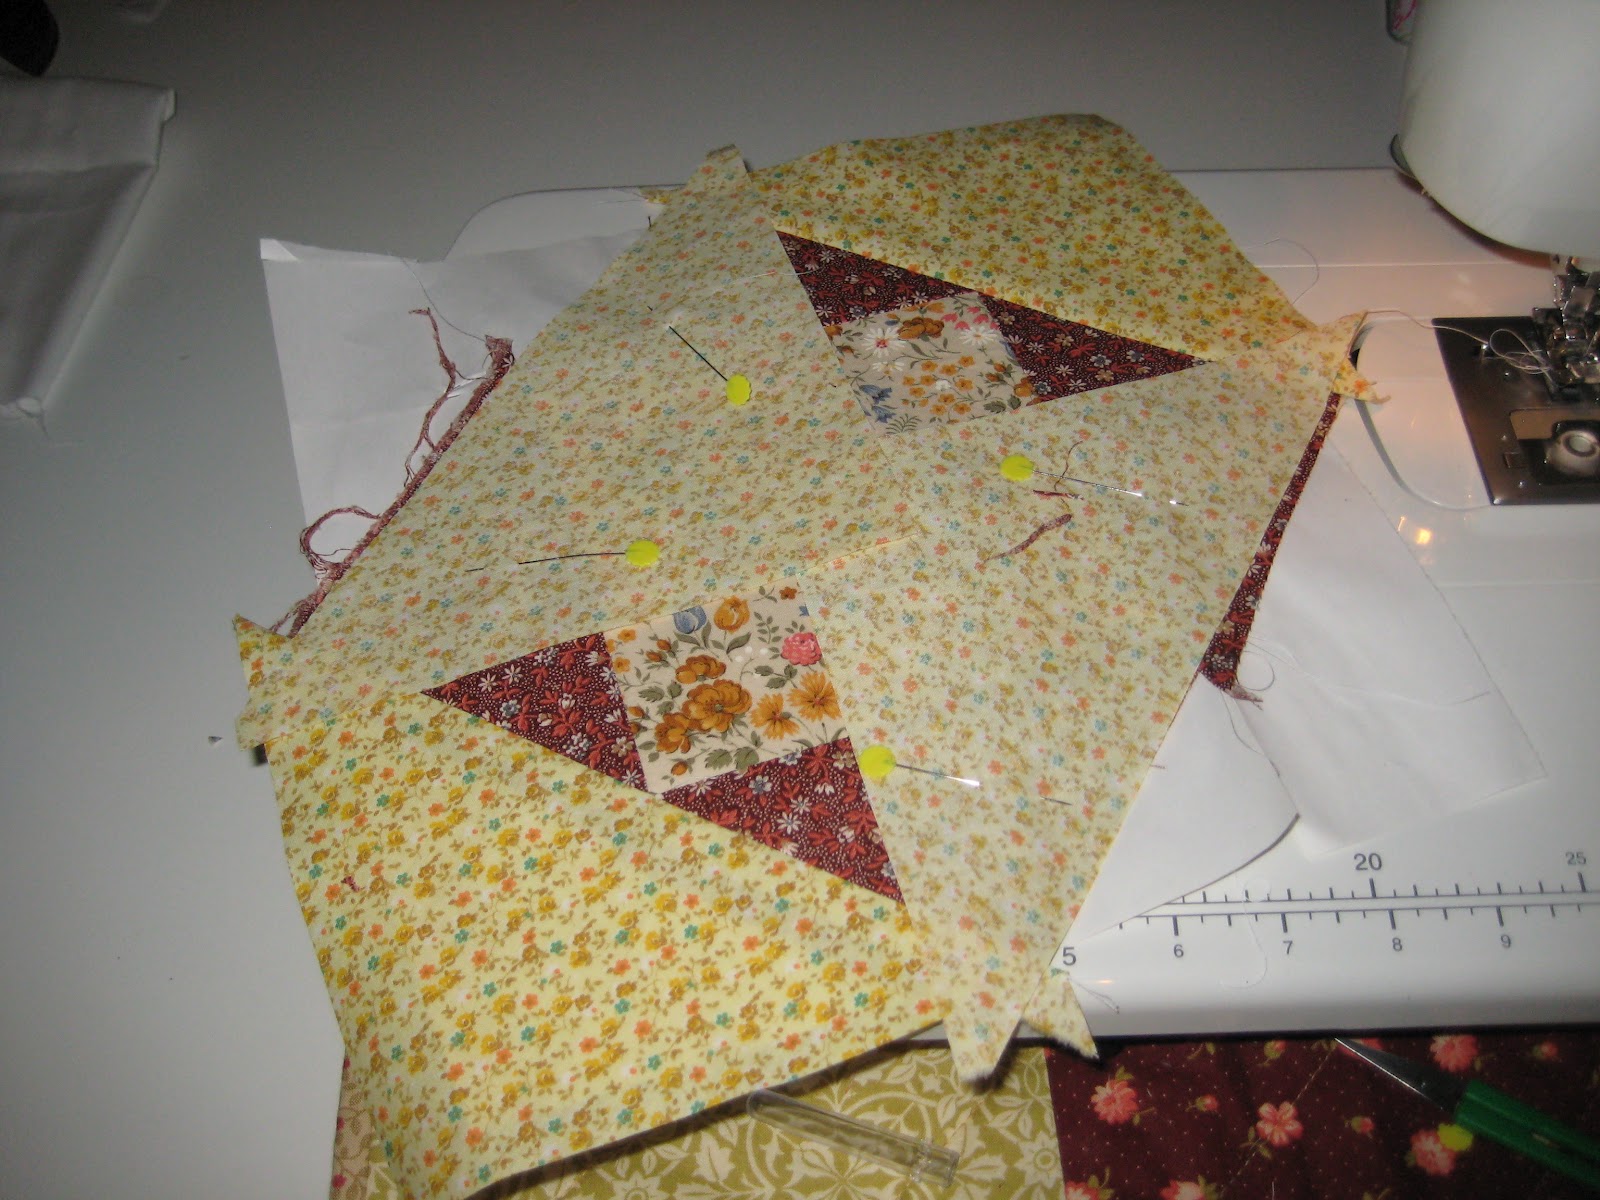
We're only supposed to post sneak previews of the strip before passing it on but I don't think Maria will mind if I share with you the ingredients of just one block - I drew my pattern, cut out some templates for the wings and background, sorted through my scraps, paper pieced the wings, unpicked LOTS and made a heck of a mess:


But, it was worth it - all done before dinner tonight and it will be in the mail tomorrow! I have really enjoyed my sewing this weekend - I pushed myself, I found a solution, I had to take my time but I cracked on with it and am really really pleased with how it all ended up - hope Maria will like it! Just need Glinda to wave her wand again and for my sewing room to be tidied!!


Wednesday, 10 April 2013

Two WIPs!!

Whilst DH is at Pétanque tonight, I will be making the binding for this little beauty:


Grandma's 80th birthday quilt is nearly finished!

And then, if I'm not completely desirous of the idea of doing some much-needed ironing, I shall do a little bit more work on a Pants Bag I'm making for Kathleen over at Crabbit Quilter - Kathleen kindly gifted me a bag of pink scraps which I said I'd only accept if she let me make her a Pants Bag. I asked her about colours and she asked for 'jewel' colours which she defined as:

Really anything goes, its the tertiary colours I am really drawn to - you know those inbetween colours: bluey greens, reddish purples, greeny golds, the ones that look all mixed up and rich. Like Topaz, and Cranberry garnet, that's what I think of as jewel colours.

So, I looked at my stash last night and googled 'bluey green' and got (amongst other images) this:


Then I searched for 'blue jewel' and got this:


So, some fabric choosing and a little drawing:


And some paper piecing later (and, I won't lie, some unpicking!): 


I got to this:


Very excited am I :)

Linking up to Freshly Pieced - WIP Wednesday


Sunday, 21 October 2012

Paper pieced cushion ... a little tutorial

I'll be honest with you, I'm a bit nervous about posting this - my first tutorial - because I am not an expert paper-piecer but I found it helpful to take some photos whilst I was making this cushion top to remind me of what I had done. Also, I need to record the process for the future - I think it might be my age (44.5!) - cos I know I'll forget what goes where and on what side by the next time I come to paper piece :) 

I don't know how you start a new project ... sometimes I start with a pattern, then choose my fabric to match and other times (like this one) I buy the fabric first and wait for the inspiration fairy to come a calling! Out of this bundle of gorgeousness, I'll be making 3 cushions: 2 x 18" and 1 x 22" for our dear 20 year old nephew who has recently moved into his first home with his adorable girlfriend:


I then get my pen and ruler out and draw a pattern to fit the 18" square and choose which fabric goes where:


So, I now know I need my square in a square to measure 10.5" and I cut and sellotape two bits of foundation paper together and I draw a 1/4" seam within the square and then draw the inner square by measuring out points at exactly half way along each edge:


Using my window as a light box, I pin a centre square of fabric big enough to overlap the lines by at least 1/4" on the side without the lines on:


You don't have to make a template for the surrounding triangles but I like to, this makes sure I don't under measure when cutting (yes, have done that once or twice before):


You're now ready to sew the first two pieces together. Personally, I don't play around with my stitch length (though I have read elsewhere that you should shorten it to 12-18 stitches per inch) and I don't pre-perforate (hey, this process is long enough already!) If you want to be sure your points measure up, you can fold your triangle in half and match it up to the corner like this:


Do a couple of back stitches at the beginning and end and sew on the line:


Fold back the paper and trim to a tidy 1/4" seam:


Press and here is your first bit:


I like to do the opposite side next:


Do all four corners in exactly the same way, press and carefully remove the paper and voila, your perfectly straight-lined square in a square:


Now, a little tip for making sure the strip you sew on next sits perfectly alongside your point, sew your 1/4" seam just a breath away from that corner seam:


And it looks precise and lovely:


And after all the strips have been sewn on, you have a finished top of 18.5":


And the finished cushion, I free motion quilted some wavy lines on the seams and meandered / stippled the centre square:


And here's all three, I really LOVE that little black velvet apliqued heart:


And the backs. I do simple flap overs (I must teach myself how to put in a zip ... someday (sigh!)) out of leftover front fabric, if I have enough, roughly 2/3 of the cushion (so for the 18" cushion, I cut 2 x 12.5"):


That was fun - I do hope you enjoyed this little tutorial :)


Friday, 14 September 2012

The best thing about being a Quilter ...

... is that you get to create unique and special gifts that generate smiles :) C'mon - who doesn't break out into a spontaneous grin when the recipient of your latest creation says thank you? Well, I did today when Lisa's fiance texted me to say, Many thanks for my Batman and Spiderman pants bag! It's fab! Just need some Batman & Spiderman pants now! :)

So, that got me thinking to whose face I want to put a smile on next ... and my new project this week is a lapquilt for Nick's cousin in Harrisburg, PA. Dear Marisa (and Jimmy) got flooded out of their home during the Tropical Storm in September last year, lost everything and are slowly rebuilding a home. I did send a cushion last year (I wasn't very good at making quilts then) but, with the anniversary this month, I really want to make her something more substantial and special.

You may remember, I bought all this fabric a little while back:


and then did my usual this week of pouring over countless magazines, blogs and blocks books for inspiration. I drew (and discarded) a few of my own patterns and decided to stop planning and just start sewing with a central block. I paper pieced it to give it sharp lines :


and this has finished at 21" ... but I'm stuck now ... what to do next?? All ideas, gratefully received :)

Saturday, 16 June 2012

Super Sewing Saturday :)

I have had a good day. I made a start on 'USA #5' for cousin June and I've achieved alot. Admittedly, I actually started a few nights ago with researching patterns, drawing the design, then choosing which fabrics for the different blocks - I was lucky to have so much to choose from and I sewed the easy six x 9-patch blocks on Thursday night.

Here's a close-up of one of them (all 6 are slightly different but each of them have a repeat few squares to tie the different fabrics together):


Today I have paper pieced the remaining 4 blocks and struggled, but got there, with the last 3 'stars'. So, all 13 blocks are done ... yay!!

The hardest part about the paper-piecing was having to sellotape two bits of paper together so they'd make a big enough piece for my 11" block design. After that, thanks to previous practice I was confident to continue. I drew the square in a square by folding the paper in half lengthways and widthways to get the centre points and then repeating:

Using the window as my 'light box' to line up the next piece:
I love watching the way it comes together and the clean lines you get from paper-piecing make the extra work worthwhile:
Using a pin to keep the next piece straight:
So easy sewing on the line:
The first square in the square:
Using two pins as the pieces get bigger:
Nearly there:
Voila!! It really doesn't take any longer once you get going and with 1 done, the next 3 took even less time :)
Next, onto the 'stars' and this was tricky! Why? I'm not sure, I think it's because I'm going for an 11" finished block ... maybe, it would have been easier with a 12" finished block because I experimented with two different size rows and I was ending up with a finished 12.5" then 11.5" until I finally worked it out:

The hardest part was getting the 'flying geese' block to match up on its points and even after 3 attempts, it still wasn't right but the block was at last measuring 11" so I could go ahead and cut all the pieces:
I had to accept it wasn't going to be perfect. I'm still very pleased with this:
And here they all are waiting to be sashed and I've decided to set out the blocks 'on point' so I will need to work out (somehow!) the size of the side and corner triangles tomorrow. Very excited to see this one coming together:
I LOVE QUILTING!!! :)

Wednesday, 30 May 2012

Just a few things ...

Gosh it has been very warm and muggy in the loft but I AM back in the groove. Two more cushions and a new peg bag for Mum-in-law's birthday :)

For Pam at work, the centre square was paper pieced which gives it beautiful lines and I may use this pattern for 'USA #5' ... not sure yet. I was going to stitch in the ditch it but ended up FMQing in purple thread. Pam loved it:


 And for Caryn at work - in 'her colours':

And Mum's Peg Bag. She celebrated her birthday on Tuesday by watching the Olympic Torch relay pass through Chester so I thought it only fitting to make her a new Peg Bag with our Union Flag theme. After making the front, it felt a bit 'flimsy' so I decided to make it into a mini-quilt and stitched in the ditch down the white lines. Took my time and only bunched up a couple of times because I needed a new needle ... much better :) Then, I really wasn't sure how to put these two pieces together:
But I did it (no pattern!) just worked it all out and added some 2" binding to finish it all off. LOVE IT!!
 And the back:
 And a little close up:

I love making gifts for people!! It's been a fun week :)